On this page
share Connections
Connect to your website and social media pages for Article cross posting.
Managing Connections
You can manage website and social media connections by clicking the ‘Connections’ tile within the management dashboard for your mobile app.
On the connections page you can add, test, and remove connections.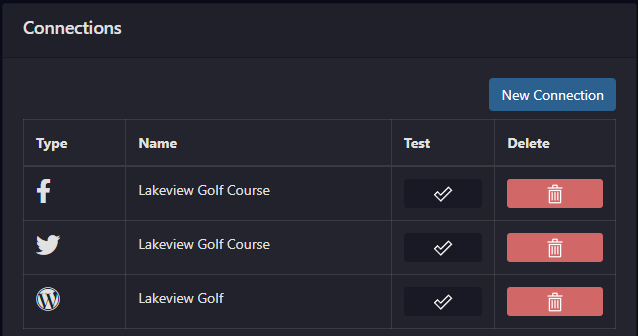
Adding Facebook Connections
- To add a new Facebook connection click on ‘New Connection’ from the Connections page.

- Select ‘Facebook’ from the available connection types.

- You will be redirected to Facebook, follow the prompts on screen.
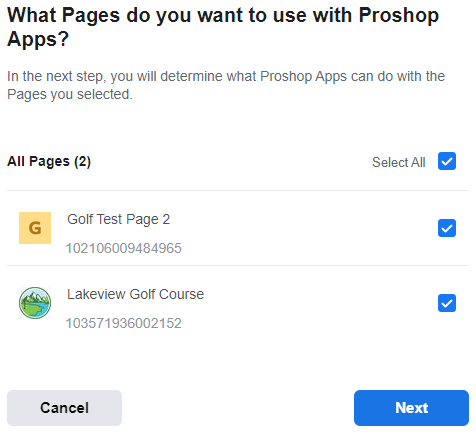
- If asked to select pages, choose the pages that you’d like to connect and then click ‘Next’.
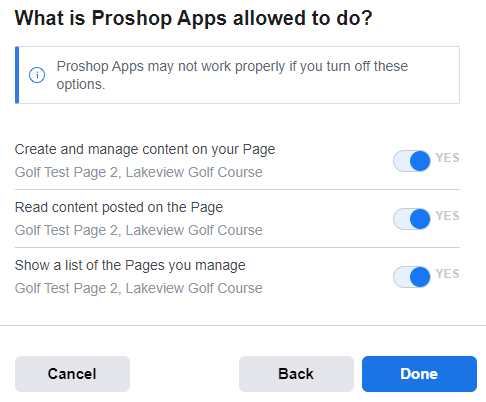
- When asked to select permissions leave all the permissions toggled ‘On’ and click ‘Done.’
- Once finished click the blue ‘Ok’ button and you will be redirected back to your management dashboard.
- Your pages will be listed once again where you can select the Facebook page or pages that you would like to connect.
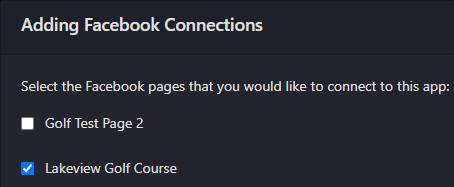
- After selecting pages click the blue ‘Connect’ button.

- That’s it. You should now see your Facebook page or pages listed under your connections.
Adding Twitter Connections
- To add a new Twitter/X connection click on ‘New Connection’ from the Connections page.

- Select ‘Twitter’ from the available connection types.

- You will be redirected to Twitter. When prompted click on the blue ‘Authorize app’ button.
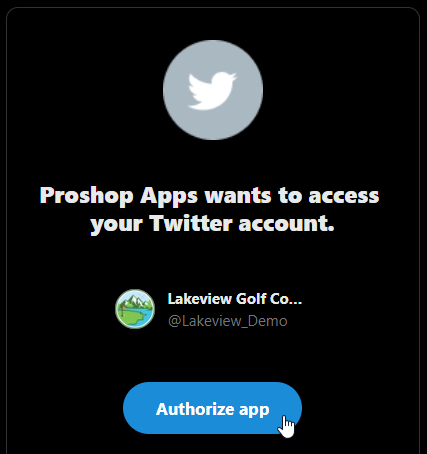
- That’s it. You should be redirected back to your app management dashboard and will see your Twitter account in your connections table.
Adding Wordpress Connections
In order to add a Wordpress connection your website administrator will need to create a new ‘Editor’ account and generate an ‘Application Password’.
- Log as an administrator to your Wordpress admin dashboard.
- Select the ‘Users’ option from the dashboard sidebar.

- At the top of the users page click the ‘Add New’ button to create a new user.

- Fill out the new user form using the following values. This will be the account in which your articles are published under, so you can change the username, first name, and last name to be whatever you’d like the author of those articles to be listed as.
- Username:
ArticlePublisher - Email:
apps@pstt.golf - First Name:
Article - Last Name:
Publisher - Website:
Leave this blank. - Password:
This is not needed, click the 'Generate Password' button to generate a random strong password. - Send User Notification:
Checked - Role:
Editor
- Username:
- Click the blue ‘Add New User’ button to finish creating this user.

- You will return to the ‘Users’ list.
- Locate the user you just created, hover your mouse over their name and click the ‘Edit’ option.

- On the edit user page scroll down to the bottom where you will find a section for ‘Application Passwords’
- Enter ‘Proshop Apps’ in the ‘New Application Password Name’ field.
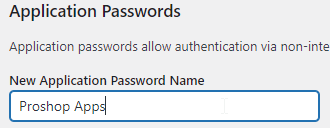
- Click the ‘Add New Application Password’ button.

- An app password will be created for you, highlight the provided password and make a copy.

Now we will link our newly created Wordpress user account to our app management dashboard. The only information we need is the username your entered in step 4 and the app password that was created for you in step 19.
- To add a new Wordpress connection click on ‘New Connection’ from the Connections page in your app management portal.

- Select ‘Wordpress’ from the available connection types.

- Provide a name for this connection, insert the url to the home page of your Wordpress website, and enter the username and app password for the account we setup above.
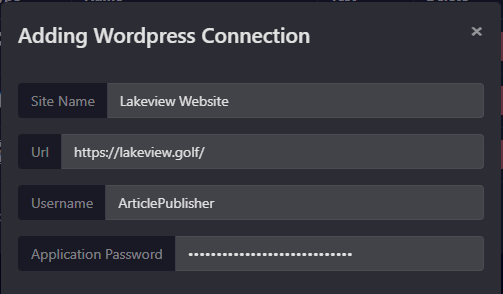
- Finally click the blue ‘Connect’ button.

- That’s it. You should now see your Wordpress website listed under your connections and you will now be able to cross post articles to this Wordpress site.